
Are you looking to give your home a polished and finished look? Look no further than proper trimming for your windows and doors. Not only does it enhance the aesthetic appeal of your home, but it also improves energy efficiency. In this blog, we’ll reveal the secrets of how to trim windows and doors like a pro. From the necessary tools to measuring, cutting, and installation techniques, we‘ve got you covered. With our tips and tricks, you’ll be able to achieve professional results and add the perfect finish to your windows and doors.

Importance of Trimming Windows and Doors
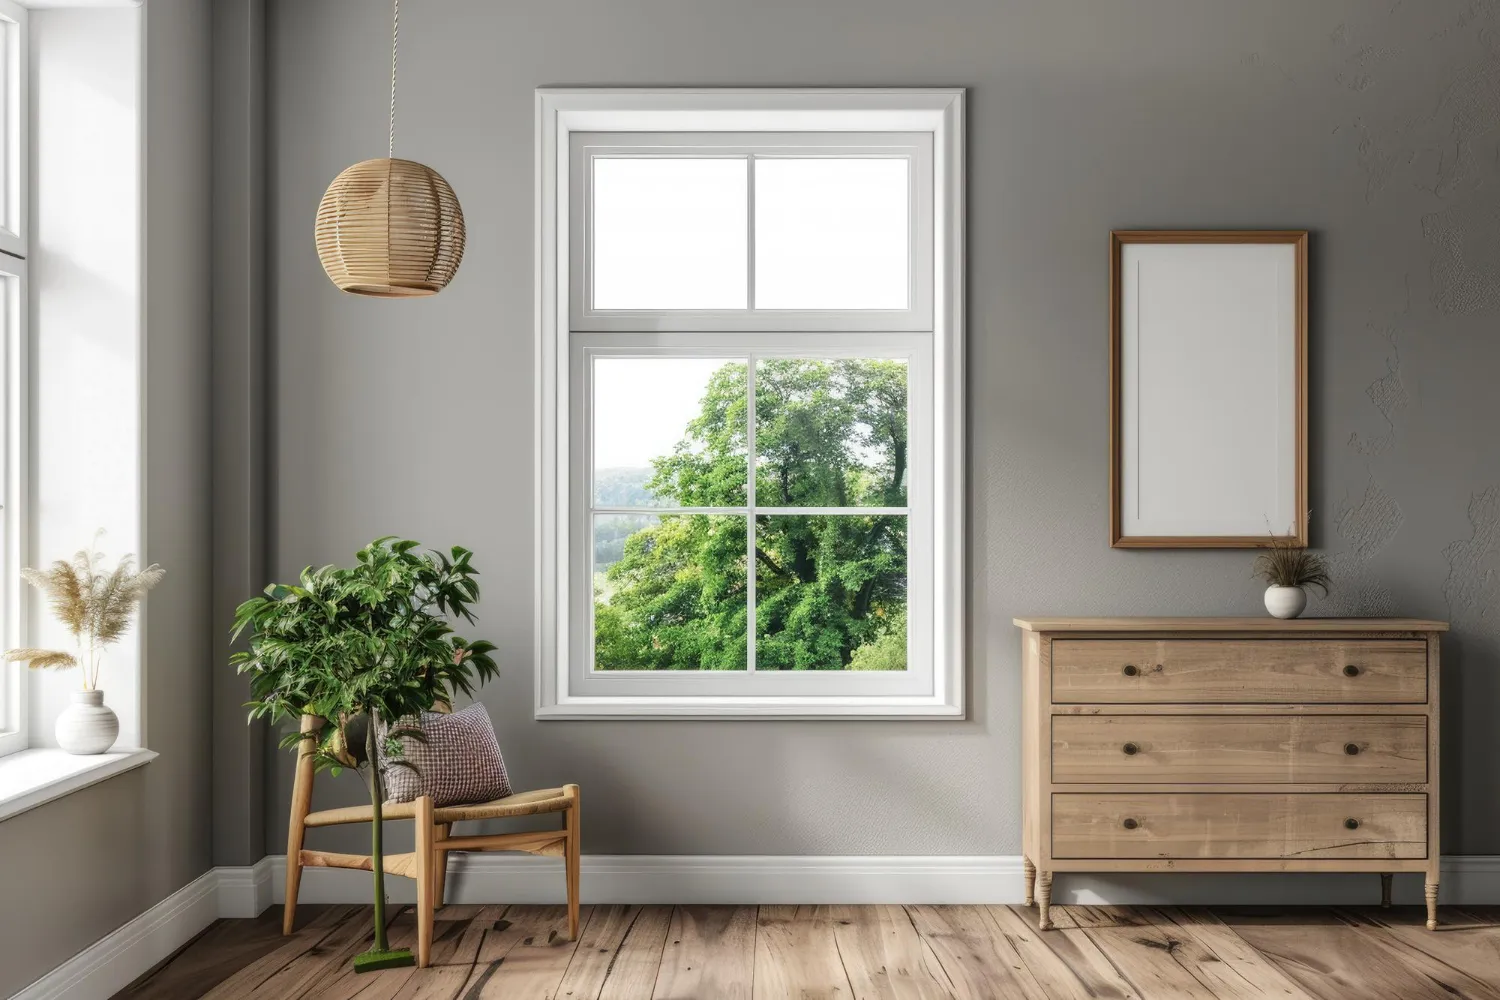
Trim work around windows and doors serves a dual purpose beyond its visual appeal. It plays a critical role in enhancing a home’s energy efficiency by filling potential gaps where air leaks could occur, leading to unnecessary energy costs. Additionally, a properly installed trim acts as a barrier against moisture and external elements, thereby extending the durability of your windows and doors. This protective function ensures that your home remains comfortable, secure, and energy-efficient throughout the changing seasons.
Gathering Your Tools and Materials
Before you dive into learning how to trim windows and doors, ensuring you have the right tools and materials is essential. You’ll need a reliable tape measure for accurate dimensions, a miter saw to make precise cuts, and a nail gun or hammer for installation. Choosing the correct trim material is also crucial, with options like wood and PVC available. Remember, the quality of your tools and materials can greatly influence the outcome of your project, so select wisely to set the stage for a successful trimming process.
Measuring and Planning Your Trim Work
Before diving into the actual trimming, getting your measurements spot-on is pivotal. Every window and door has its own set of dimensions, and it’s these specific measurements that will guide your entire project. Start by carefully measuring the height and width of each opening, making sure to note any unique features or variations in shape that could impact your trim installation. With these dimensions in hand, map out a clear plan for how you’ll approach the trim for each area. This includes deciding on the trim style and size that best complements your space. This upfront planning and precision in measuring lay the groundwork for a successful trim project, ensuring a custom fit and finish.
Cutting and Preparing the Trim
After your plans are set and measurements taken, the next step is cutting and preparing the trim for a perfect fit. With your miter saw, execute cuts at the required lengths and angles, meticulously ensuring each piece aligns with your design intentions. Smooth any roughness on the cut edges and corners by sanding them down, preparing them for a flawless installation process. This phase is about transforming raw materials into the exact pieces needed for your project, laying the foundation for a polished and cohesive appearance around your windows and doors.
Installing the Trim Around Your Windows and Doors
Begin the trim installation by focusing on the top piece, ensuring it’s perfectly aligned before proceeding to the sides and bottom. This methodical approach helps maintain a consistent look and fit. Secure each piece using a nail gun or hammer, being diligent to countersink the nails for an unobtrusive finish. Address any visible gaps or imperfections with caulk or wood filler, smoothing out the surface to achieve a cohesive and aesthetically pleasing outcome. This careful and precise installation process is key to elevating the overall look and feel of your windows and doors.
Final Touches
Completing your trim installation with final touches such as paint or stain ensures seamless integration into your home’s decor. Regularly inspecting and cleaning the trim contributes to its longevity, keeping it looking fresh and in top condition. Address any signs of wear or damage promptly to maintain the integrity of your work. These maintenance practices are crucial for preserving the aesthetic and functional benefits of your newly installed trim.
Common Challenges and How to Overcome Them
Addressing uneven or not perfectly square openings can seem daunting, but with the right approach, it’s manageable. Utilizing shims or adjusting trim pieces can achieve a level appearance, ensuring a clean finish. Another obstacle is sealing gaps effectively to prevent drafts. Applying weatherstripping or a bead of caulk around the trim can bridge these gaps, enhancing energy efficiency. Overcoming these challenges involves a combination of adjustment techniques and sealing strategies to ensure your trimming project looks professional and performs optimally.

Tips for a Professional Finish
Achieving a professional finish requires meticulous attention to detail throughout the trimming process. Measure twice and cut once to ensure accuracy. Carefully align and secure each piece of trim, using a nail gun or hammer for precision. For an exceptional look, consider incorporating decorative elements or moldings that complement your home’s style. Sand edges smoothly and apply caulk or wood filler to gaps for a seamless appearance. By focusing on these careful steps, you can elevate the aesthetic of your windows and doors, achieving a high-quality finish that mirrors professional craftsmanship.
Wrapping Up
Trimming around windows and doors is more than just a visual upgrade. It enhances your home’s efficiency and durability. By applying the insights and strategies shared here, your DIY projects can achieve a professional level of polish. If you need additional guidance or quality materials, Glacier Glass is at your service. Our team is ready to support your endeavors with expert advice and premium products. We ensure your trimming projects are a resounding success. Reach out to us for any assistance you might require.